A good soundcheck can make the difference between an event that feels polished and one where you’re still chasing audio problems five minutes before the doors open.
Whether you’re setting up for a school musical, conference, live performance or corporate event, a soundcheck doesn’t need to be complicated. The key is to be organised and work through the system methodically.
Here are a few of our tips for getting your soundcheck right.
Get the equipment set up first
Before anyone starts singing, speaking or playing instruments, get the system powered up and connected.
Check your:
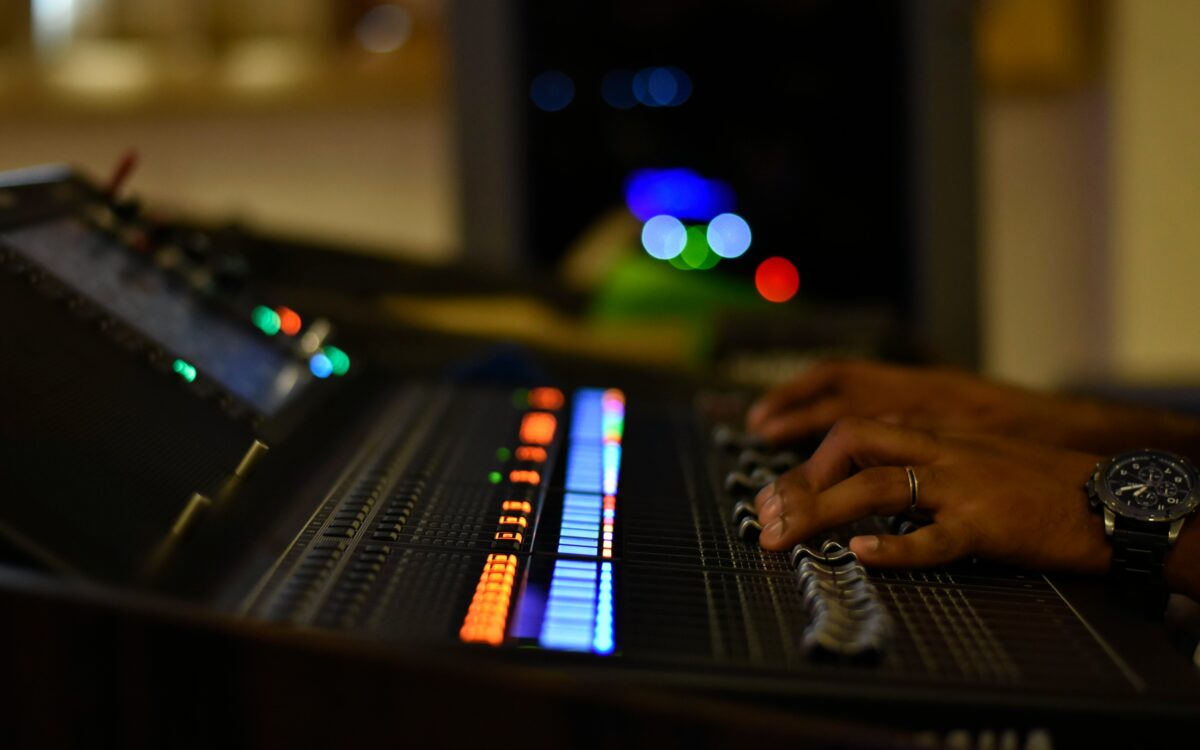
- Mixing desk
- PA speakers
- Microphones
- Radio mic receivers and transmitters
- DI boxes
- Monitors
- Playback equipment
- Cables and connections
It’s much easier to find a faulty cable or connection before the performers arrive than when everyone is waiting for you!
Check one channel at a time
It can be tempting to switch everything on and start testing, but working through the system one channel at a time makes problems much easier to identify.
Start with your first microphone or input, check that it’s reaching the correct channel on the desk, then move on to the next.
For radio mics, check each transmitter individually and make sure it’s assigned to the correct channel.
It might take a little longer at the start, but it can save a lot of time later.
Set your levels properly
Once you’ve confirmed that everything is working, it’s time to set your levels.
Ask performers to speak or sing at the volume they’ll actually use during the event. There’s not much point setting a microphone level while someone quietly says, “Check, one, two” if they’re going to be belting out a musical number later!
Keep an eye on the input levels and avoid running channels too hot. Leaving yourself some headroom helps prevent distortion and gives you room to work during the event.
Test the system from the audience
Don’t spend the entire soundcheck standing behind the mixing desk.
If possible, have someone walk into the audience area and listen to the PA from different positions.
The person at the desk hears something very different from the person sitting at the back of the room.
Check that:
- Speech is clear
- Music sounds balanced
- The volume is consistent around the room
- Monitors aren’t causing feedback
- Nothing sounds distorted or excessively loud
If you have a large venue, walking around during the soundcheck can reveal problems you simply won’t hear from the desk.
Test the microphones where they’ll actually be used
For radio mics especially, don’t just check that the microphone works while the performer is standing next to the mixing desk.
Have them walk around the stage and, where appropriate, into the areas they’ll actually be using.
This gives you a chance to identify any potential dropouts or problems before the audience arrives.
For school productions and theatre, it’s also worth testing microphones alongside costumes if possible. A microphone that sounds great during a rehearsal might behave differently once it’s hidden under clothing.
Test the loud bits!
One of the most common mistakes is only checking the quieter parts of an event.
Make sure you test the loudest parts too.
Get performers to sing at full volume, play the loudest sections of music and test any sound effects or playback at the levels you’ll actually use.
You want to find out about distortion or feedback during soundcheck—not during the opening number.
Leave time for the unexpected
Don’t schedule your soundcheck to finish two minutes before the doors open.
Something will probably take longer than expected.
A cable will be in the wrong place. A performer won’t be ready. A transmitter will need a new battery. Someone will discover that their laptop doesn’t have the right connection.
Building some extra time into your schedule gives you a chance to fix these things without everyone watching the clock.
Keep a simple checklist
Once you’ve done a few events, you’ll develop your own routine.
Until then, a simple checklist can be invaluable.
Before the audience arrives, make sure you’ve checked:
✓ All microphones working
✓ Radio mic frequencies checked
✓ Fresh batteries fitted
✓ PA levels set
✓ Playback tested
✓ Monitors checked
✓ No obvious feedback
✓ Cables safely positioned
✓ Spare batteries and cables available
✓ Final run-through completed
The golden rule: test it as it will be used
The best soundchecks aren’t necessarily the longest ones. They’re the ones that recreate the actual event as closely as possible.
If it’s a conference, get the presenter to use the microphone from the lectern. If it’s a musical, run through the important numbers with the cast. If it’s a live band, play at performance volume.
The more closely your soundcheck matches the real event, the fewer surprises you’ll have once the audience arrives.
Need the kit for your next event?
We supply dry-hire audio, radio microphones, PA systems and AV equipment for events, productions, conferences and everything in between.
Not sure what you need? Get in touch with us and we’ll help you put together the right equipment for your event.